Overview
This project describes how to create a GR-ADZUKI sketch (also called a “program”) using the IDE for GR which allows you to program using the same operations as the Arduino IDE. By downloading the IDE for GR, you can create a sketch without an internet connection.
Preparation
Hardware
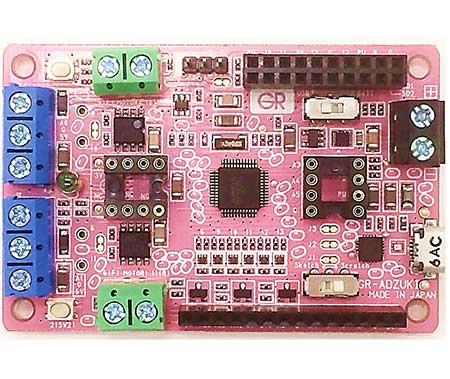
You will need a GR-ADZUKI board and a USB cable (Micro B type). Make sure both slide switches on the GR-ADZUKI board are set to USB and Sketch, correspondingly.
Software
First, download IDE for GR. If using Windows, decompress the zip file. If using Mac, open the DMG file and register as an application. IDE4GR will be added to Finder as an application.

Protocol
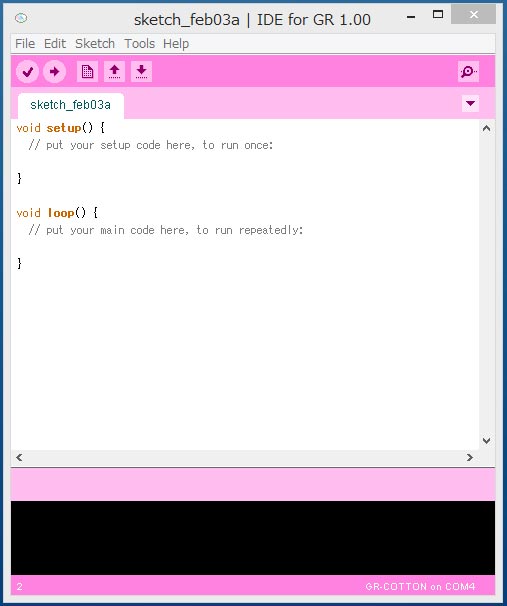
1. Startup IDE for GR
For Windows, execute the ide4gr.exe file from the decompress folder.
For Mac, execute the IDE4GR file from the Finder application.
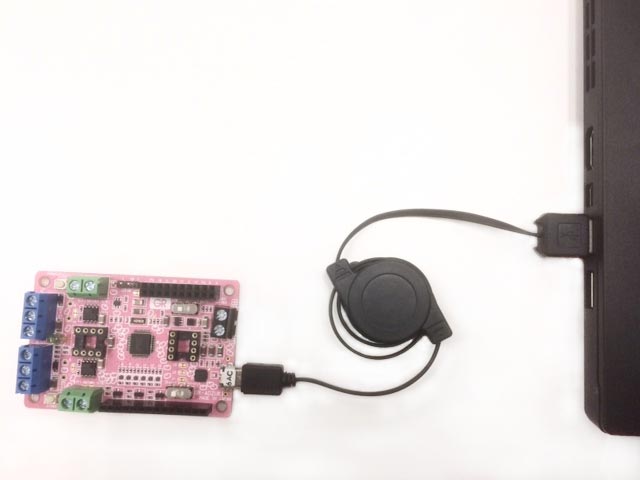
2. Connect GR-ADZUKI to the PC with a USB Cable
Connect GR-ADZUKI to your computer with a USB cable. If you see a message that the USB driver cannot be located, obtain a USB driver from the FTDI website and confirm that your computer acknowledges it.
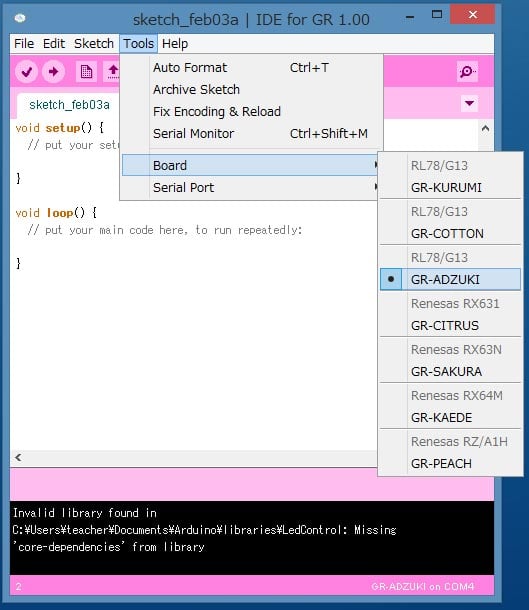
3. MCU Board Selection
From the menu, select Tools → MCU Board → GR-ADZUKI.
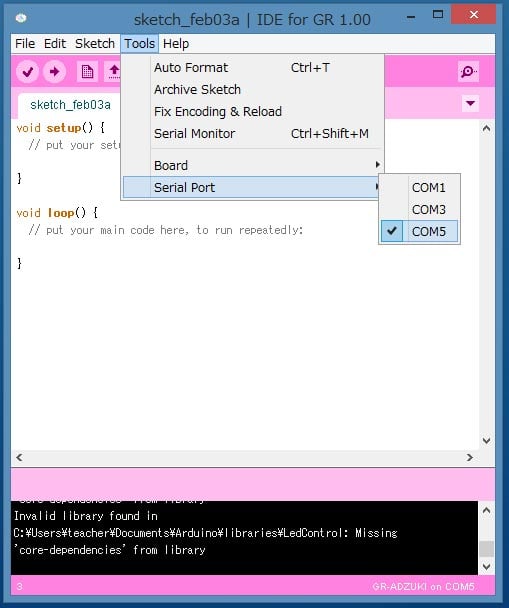
4. Select Serial Board
From the menu, select Tools → Serial Board.
When using Windows you can confirm the port number using the device manager, or you can continue as is and change the port if an error occurs when you write the sketch to the MCU.
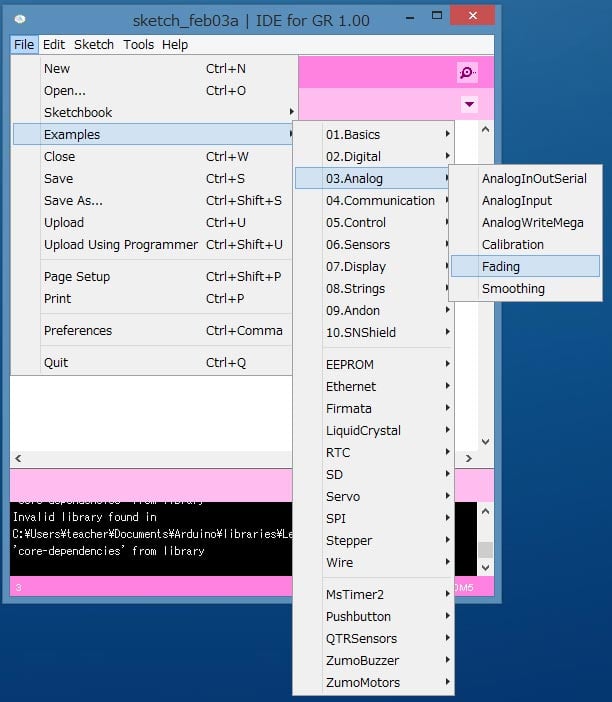
5. Loading the Sample Program
Now let’s try executing the sample program. From the menu, go to File → Sketch Example → 03.Analog, and select “Fading.” A screen showing the written sample sketch will then be displayed.
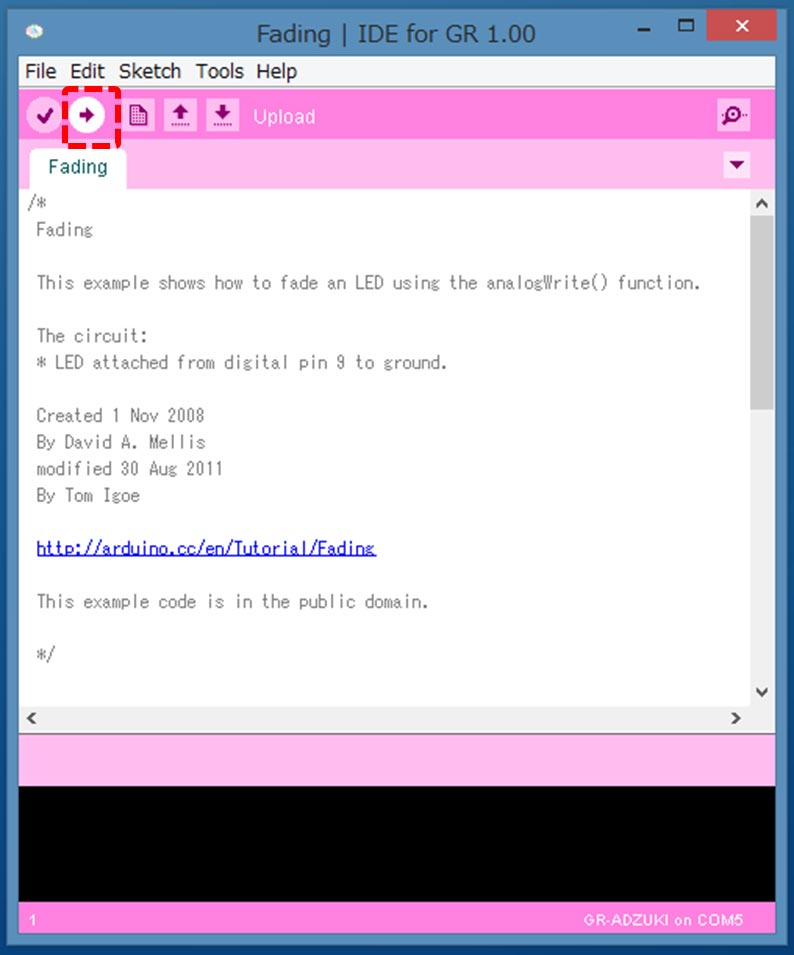
6. Compiling and Writing the Sketch
Select the arrow as is shown in the screen here. This will start compiling the program and continue on to write the program to the MCU.
If you get an error message, follow these steps:
- Click the Write (arrow) button again. Does anything change? (A communication error message due to timing may appear if a sketch that implements serial communication has already been sent.)
- Has the correct serial port been selected?
- Are the GR-ADZUKI slide switches correctly set to USB and Sketch?
- Is the USB cable firmly inserted?
Congratulations!
LED 9 on the GR-ADZUKI board should turn on when the Write process is complete.
Try out more samples, change the LED number, etc. Have fun!