
Are you a beginner looking to develop with the RL78 MCU family? This blog post introduces you to the RL78 development environment. To get started, follow the two-step process to create a low-cost and easy-to-use development environment. As a fellow beginner, I recommend this procedure for those who are new to development.
Step 1. Get an evaluation board!
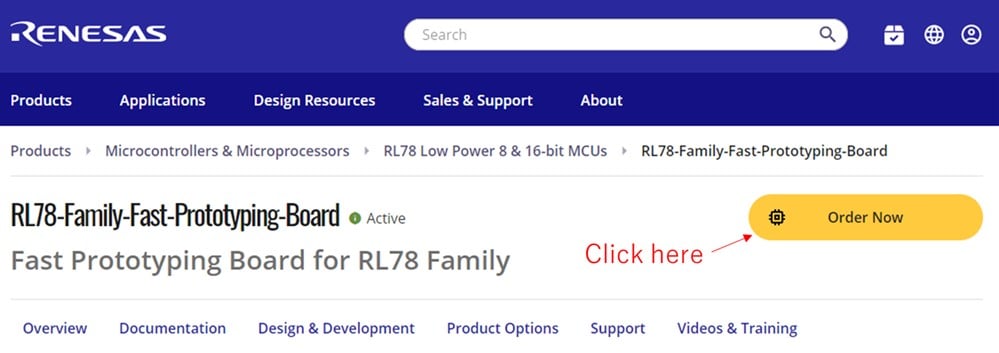
For first-time development, I recommend a low-cost (~20) evaluation board called the Fast Prototyping Board. With this board, you can easily write and debug your program by simply connecting your own USB cable (micro-B). Through-holes and Arduino connectors are also provided on this evaluation board. I've used it myself and was able to add components and perform evaluations with ease!
Fast Prototyping Board is available
Step 2. Install the development tools!
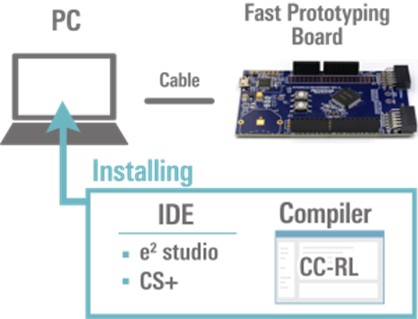
To start development, you need to install an Integrated Development Environment (IDE) and a compiler. Here's a brief introduction to these tools:
Integrated Development Environment (IDE)
Renesas offers free use of Eclipse-based e² studio or Renesas' original CS+ as an integrated development environment (IDE). Choose the one you prefer by visiting the product pages below.
Compiler (CC-RL) *Free of charge (link size/optimization restrictions apply)
After installation, all functions can be used for 60 days. After 61 days, depending on the CC-RL version, the link size will be limited to 64KB or the optimization level will be changed to "-Onothing (debug-oriented)" and "-Olite (partially optimized)" only. These restrictions will be removed when you purchase a license. It's worth noting that the free evaluation version of CC-RL was previously limited to device and development environment evaluation and non-commercial use, but from this year, all versions of CC-RL can be used for any purpose, including commercial use such as development and production of customer products.
It's great to know that the development tools are free to use. Now, let's install the software.
You can install the software even if you don't have the board yet. Install it in advance so that you can start development as soon as the board arrives! Please register to log in to My Renesas for software installation.
Install e² studio, CS+ and CC-RLSelect the "How to Prepare Tools" tab, as shown in the image, to view a video on how to install each tool. You can also install each tool from the bottom of the image.

Once you have finished installing the development tools, it's time to start development!
Let's make LEDs glow!
This time, we will use the RL78/G23 sample code (Timer Array Unit (PWM output)) available on the Renesas website to light up the LEDs mounted on the board.
- First, download the sample code to be used in this project.
- Next, import the sample code into CS+ or e² studio. If you are using CS+, click "r01an5874-rl78g23_tau.mtpj" in the file downloaded in step 1. CS+ will start up with the sample code reflected. If you are using e² studio, please refer to p27 "Importing existing Project into Workspace" in the e² studio Integrated Development Environment User's Manual: Getting Start Guide to proceed.
- The LED is ready to shine! Let's make the LEDs glow. This sample code is a program to change the brightness of LED1 and invert (blink) the output of LED2 in 500ms cycles as shown in the figure below.

After confirming the behavior shown in the above figure, let's modify the program to change the behavior! The period of 500ms can be changed by modifying the number 250 in line 73 of "Config_TAU0_0_user.c". For example, changing the number to 125 would result in a cycle of 250 ms.
Did you successfully change the behavior? In addition to the sample code introduced here, Renesas provides many other sample codes to support customers' development. If you find a sample code that interests you, please download it and try to run it in the same way as this time.
Finally, here are some useful pages for development:
- Getting started with RL78 Development Environment
This page introduces tools necessary for development and recommended kit products for those who use the RL78 family development environment for the first time. If you are stumped in setting up your environment, please refer to this page. - RL78 Family Software & Tool Course
This page introduces the basic functions of the Renesas development environment and solution development support functions in an easy-to-understand video for those starting development using the RL78 family. If you don't know how to use CS+ or e² studio, please look at this page. - Renesas Engineering Community
This is a page where users can freely talk with each other about Renesas products. If you have any problems in development, feel free to post them!
Thank you for reading until the end! Let's meet again in the second session.