
Overview
This project introduces how to sketch on the web compiler for GR-SAKURA. Both Windows and Mac are available.
Preparation
You will need a GR-SAKURA board and a USB cable (Mini B type).

Procedure
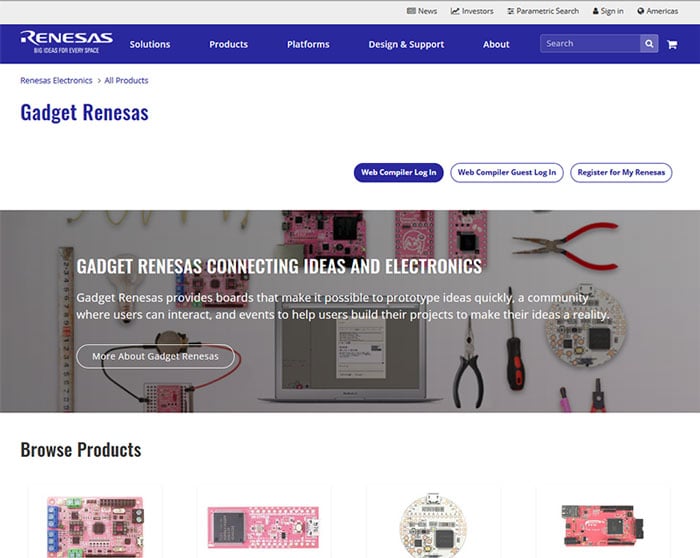
1. Logging Into the Web Compiler
Log into the web compiler from the Gadget Renesas top page.
Then click [Log In] or [Guest Log In]. If you choose the guest login, your sketch is removed upon log out.
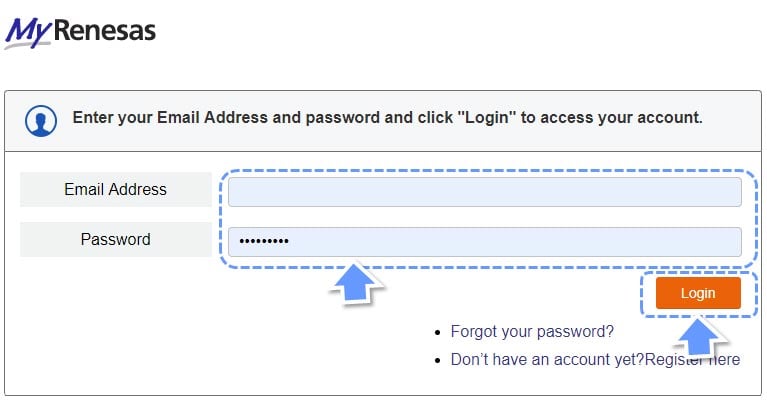
Enter your MyRenesas account information and click Sign In, if you entered the site from [Log In].
2. Creating a New Project
Use the button as shown here to create your new project. Those logging in for the first time should skip this step.

Select an appropriate template, such as GR-SAKURA_Sketch_Vxxx.zip, where xxx indicates the version. Since there are many templates, entering "sakura" in the filter makes it easier to find. After selecting the template, give the project an appropriate name and click "Create Project".

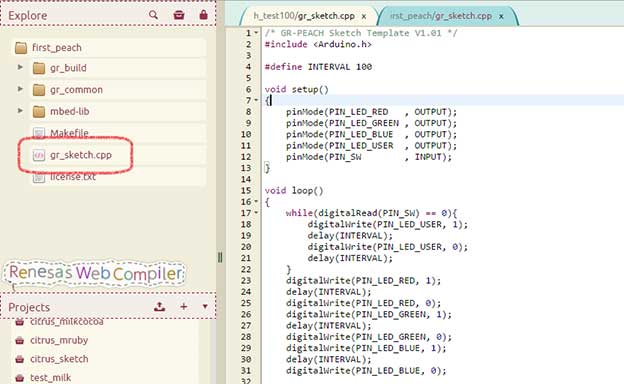
3. Displaying Your Sketch
Clicking "Create Project" brings you to the Web Compiler IDE window. Click "gr_sketch.cpp" file under the Explore menu. The source code of the file will appear in the right window. This is the sample code that will drive the LED on GR-SAKURA.
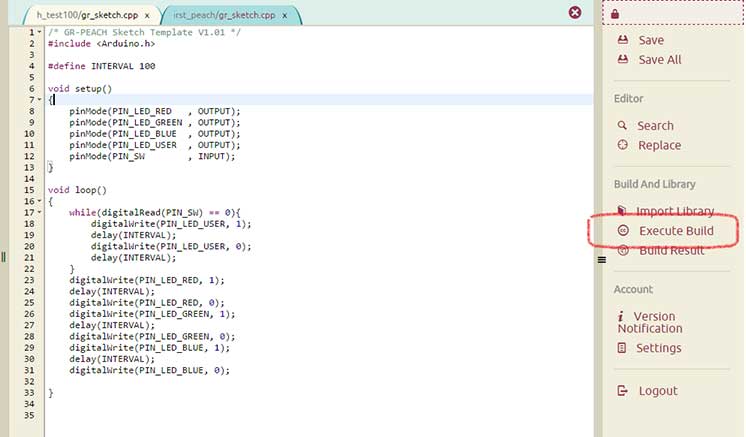
4. Build the Code
Since the code shown on the screen is a working sample, you don't need to debug the code. To build the code, click the "Execute Build" icon on the right navigation menu shown in the image. This should show you "The Compilation Is Complete" pop-up.
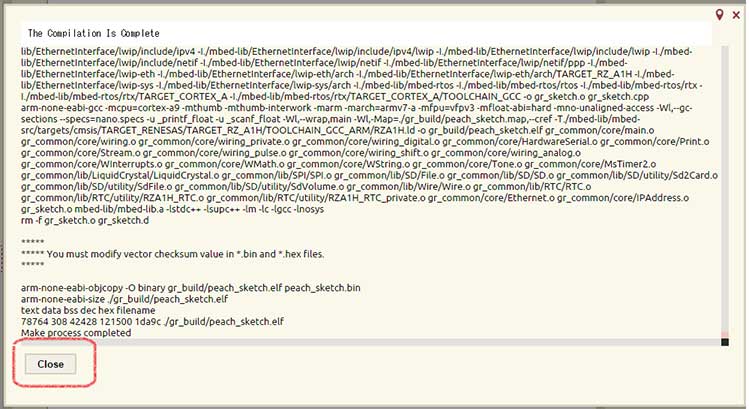
Note that it takes a little time to build the first time due to compilation of all of the source files.
When the build is OK, the pop-up screen shows "Make process completed" at the bottom of screen. Click the "Close" button.
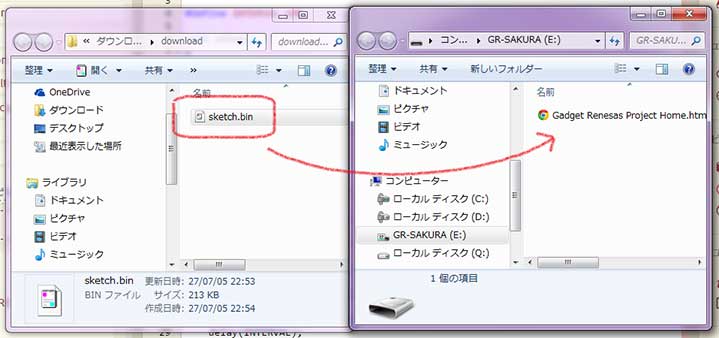
5. Download the sketch
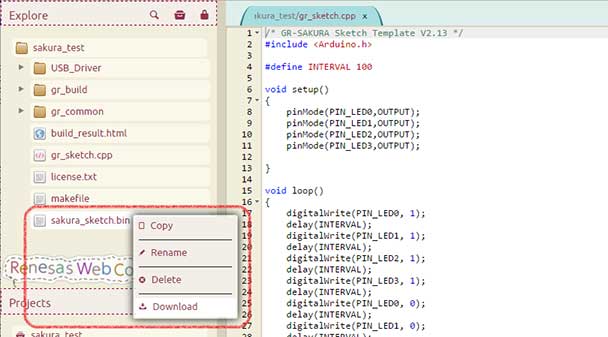
When the build is successfully completed, the web compiler creates a binary file "sakura_sketch.bin" under the .CPP file shown in the image. Move the mouse over the bin file and right click - this will bring up the pop-up menu. Then, click "Download" menu.
6. Connect GR-SAKURA
Connect GR-SAKURA to a PC with a USB cable. Then, push the Reset button on GR-SAKURA. GR-SAKURA is displayed as a USB storage.
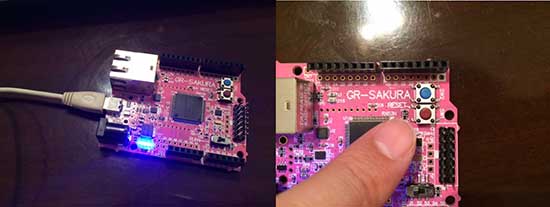
7. Flashing (Copy Program to GR-SAKURA)
Copy and paste the sakura_sketch.bin to the storage. Now, the LED on GR-SAKURA should be flashing.
Sample Code for Making the LED Flash Like a Firefly
Copy and paste the sample program below to your sketch on the web compiler.
#include <arduino.h>

void setup(){
}

void loop(){

    for(int i = 0; i < 256; i++){
        analogWrite(PIN_LED0, i);
        delay(5);
    }

    for(int i = 0; i < 256; i++){
        analogWrite(PIN_LED0, 255 - i);
        delay(5);
    }
}