
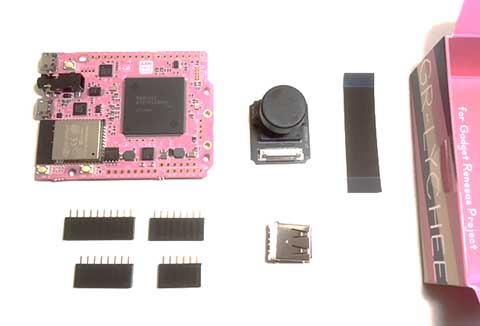
Overview
A camera and expansion connector are attached to the GR-LYCHEE board. This project introduces how to install the GR-LYCHEE camera and how to attach an optional LCD.
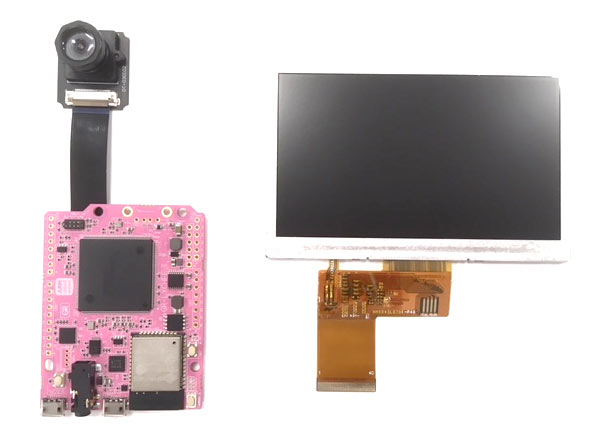
Camera
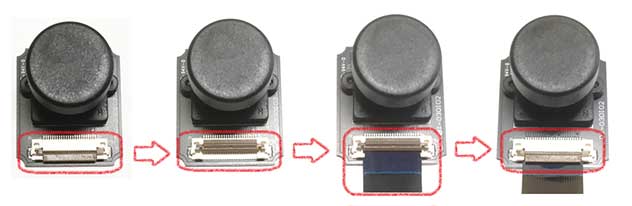
Attach the flexible cable to the camera body. Be sure to pay attention to the orientation of the cable.
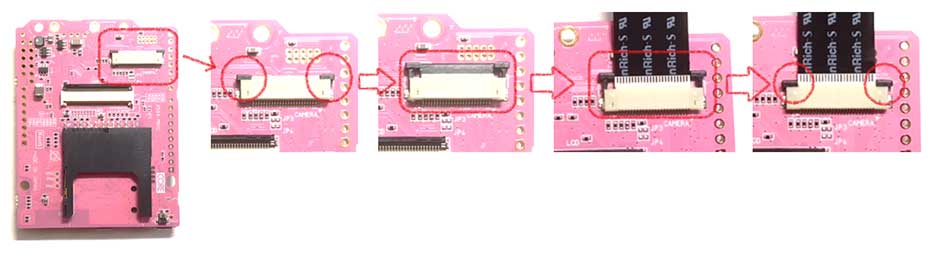
Next, attach the flexible cable to GR-LYCHEE. Pay attention to the direction of the cable here as well.
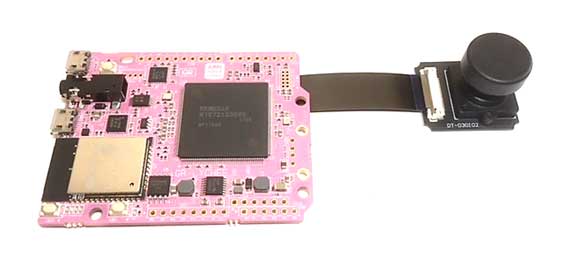
The image to the right shows how it should look once connected.
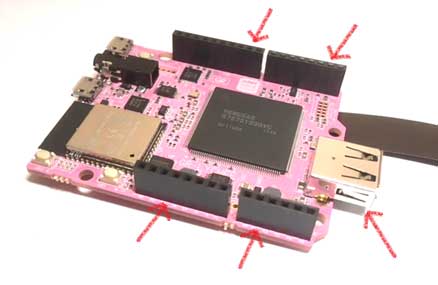
Arduino Shield Connector, USB Connector
When connecting a shield for Arduino or when installing a USB connector, solder each.
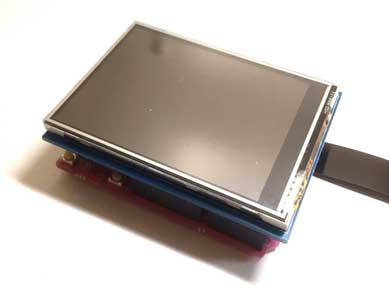
Here is an image with the Adafruit LCD shield connected.
LCD
The GR-LYCHEE can be fitted with a 40-pin flexible cable LCD. The photo shown here is an ATM0430D25 of a 4.3-inch TFT.
Open the connector's cover and install the flexible cable. Be sure to pay attention to the orientation of the cable.
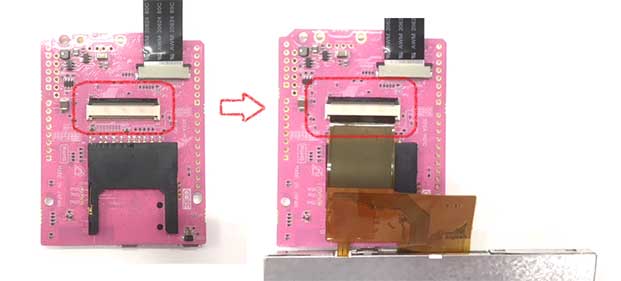
The image to the right shows how the the set-up should look after installation.
