Overview
This article describes how to create a GR-CITRUS sketch (also called a “program”) using IDE for GR, in the same manner sketches are created in Arduino IDE.
By downloading IDE for GR, you can create a sketch without Internet connection.
Preparation
Hardware
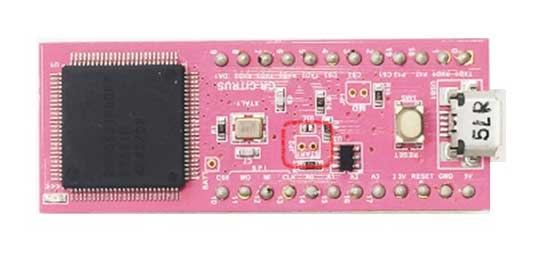
You will need a GR-CITRUS board and a USB cable (micro B type).

Software
First, download the IDE for GR. If using Windows, decompress the zip file. If using Mac, open the DMG file and register as an application. IDE4GR will be added to Finder as an application.
Protocol
1. Startup IDE for GR
For Windows, execute the ide4gr.exe file from the decompressed folder.
For Mac, execute the IDE4GR file from the Finder application.
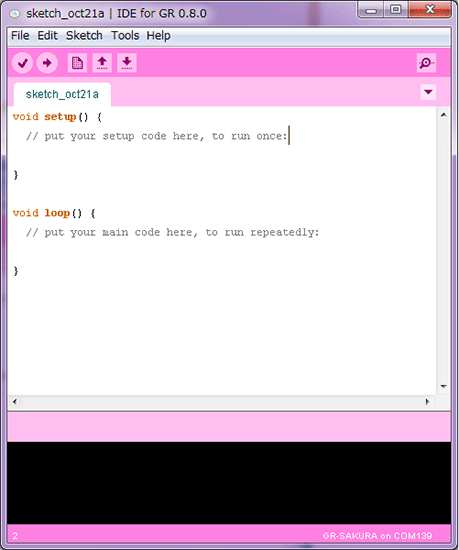
The following screen will be displayed.
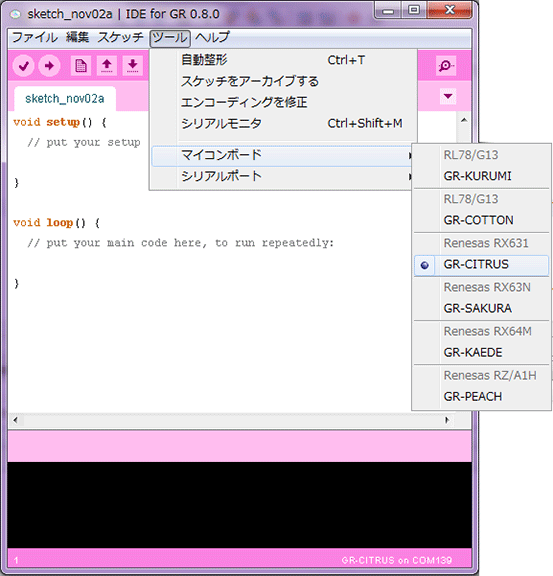
2. Board settings
From the menu, go to Tools → Board and select GR-CITRUS. This will enable you to start writing a sketch.
3. When using the tools for the first time
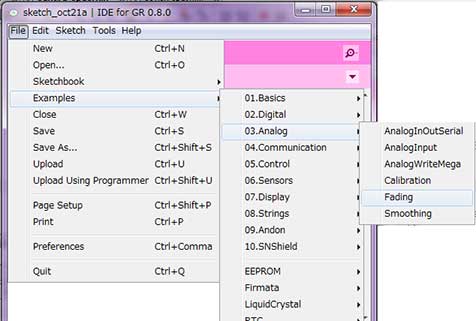
We will first execute the sample program. In the menu, go to File → Sample Sketch → 03.Analog, and select Fading. This will display the window in which the sample sketch is saved.
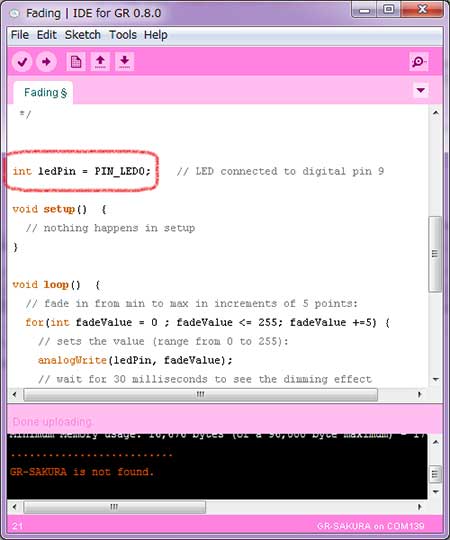
Here, “ledPin” in the sketch is changed from pin 9 to PIN_LED0. For definitions of all other pins, refer to the GR-CITRUS Sketch Reference.
4. Connect and GR-CITRUS and prepare GR-CITRUS write
Next, connect the GR-CITRUS board to your computer with the USB cable. After connecting the two, press the Reset button. The GR-CITRUS board will be recognized as a USB memory.

5. Write and run sketch
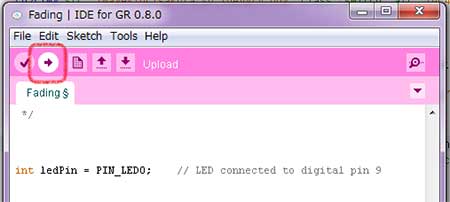
Click the arrow as indicated in the following screen print. This initiates the build and write operations.
When the write is completed, the LED will softly glow.
Using the Serial Monitor
This explains how the serial monitor is used for communications with GR-CITRUS. Give it a try!
Copy the following sample into a sketch and write it to GR-CITRUS.
Serial.begin(9600);
}
void loop() {
static int oldtime = 0;
if((millis() - oldtime) > 1000){
Serial.println("Hello World");
oldtime = millis();
}
if(Serial.available()){
if(Serial.read() == 'a'){
Serial.println("Hi, I'm CITRUS!");
}
}
}
Port Settings
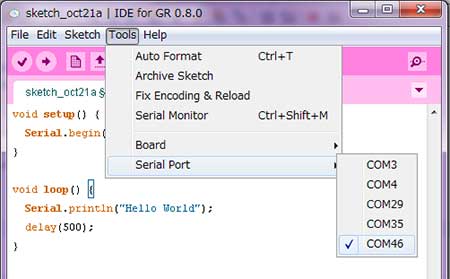
After the sketch has been written, in the menu go to Tools → Serial Port → and select the appropriate port. Note that the port will not show up until Serial.begin has been executed. Therefore you need to set the port after you execute the sketch.
Serial monitor display
Click the magnifying glass as shown in the figure.
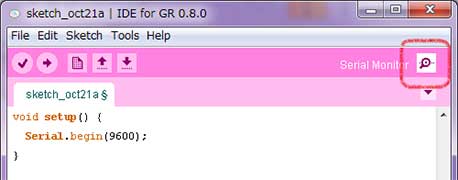
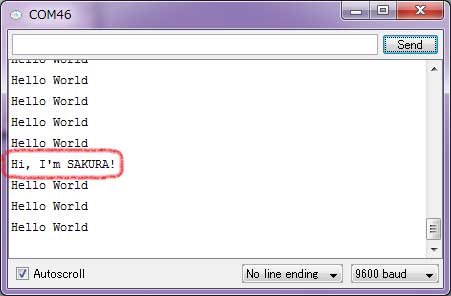
This should make the serial monitor display and output “Hello World”. At this point, enter “a” as shown in the top line, and click SEND.
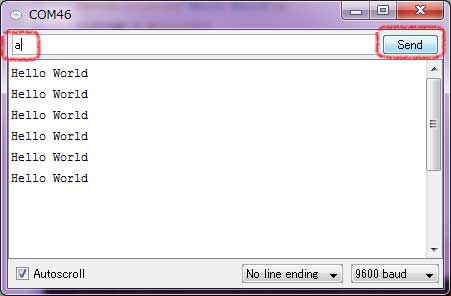
GR-CITRUS introduces itself!